Do you want to learn Ubuntu Server? If yes, you can install Ubuntu Server in VirtualBox and start playing around. A VirtualBox installation is the best place to learn. If you break it, you can set up another one without a need to go through the hassle of finding root cause and fixing it.
I’m not saying finding solutions is bad, that’s the only way you will learn. However, in some cases it’s not worth, e.g. if I am trying to set up a docker container and messed up my Ubuntu installation in a unrelated event, the docker learning has to wait till it’s fixed.
Before we start with the steps to install it, lets see the difference between desktop and server, system requirements, versioning and downloads.
Difference between Ubuntu Desktop and Ubuntu Server
Ubuntu server do not include a graphical user interface and applications. This makes it less hungry for system resources, requires less processing power to run and is pretty fast compared to the desktop edition. Since both desktop and server edition uses same apt repository, you can still go ahead and set up a GUI in Ubuntu server. It doesn’t make sense though since you can chose the desktop edition itself to begin with, if you require GUI.
Operating the server edition will require a bit of terminal knowledge, since everything needs to be done on the black screen and through commands.
System Requirements
- >1GHz Processor
- >1GB of RAM
- >2.5GB of Storage
After a minimal Ubuntu server installation, it was using 136 MB of RAM and was working as smoothly as you can hope for.

You don’t ideally need 1 GB of RAM in running the server edition, but as you go along and install applications, you might require it. In VirtualBox, you can edit the RAM assigned to a Virtual Machine anytime you want, so you can start low if you want.
Versioning and download
Canonical maintains two versions of Ubuntu editions. Current LTS version for Ubuntu Server is 20.04.2 LTS with support till April 2025. There is another 5 years of extended maintenance till 2030. There is additional commercial support for enterprise customers.
Along with it, there is a latest version Ubuntu Version 21.04 which you can chose to install, if you want to stay ahead in receiving updates. Alternate releases are supported for 9 months and then phased out.
Download Link : https://ubuntu.com/download/server
Install Ubuntu server in VirtualBox
The scope of this article is limited to install Ubuntu Server in VirtualBox. If you want to dual boot Ubuntu server with Windows 10, let me know in the comments and I will cover it in another article.
Before we being the installation, you would need to set up VirtualBox. Once done, you can follow below instructions to install Ubuntu server in VirtualBox.
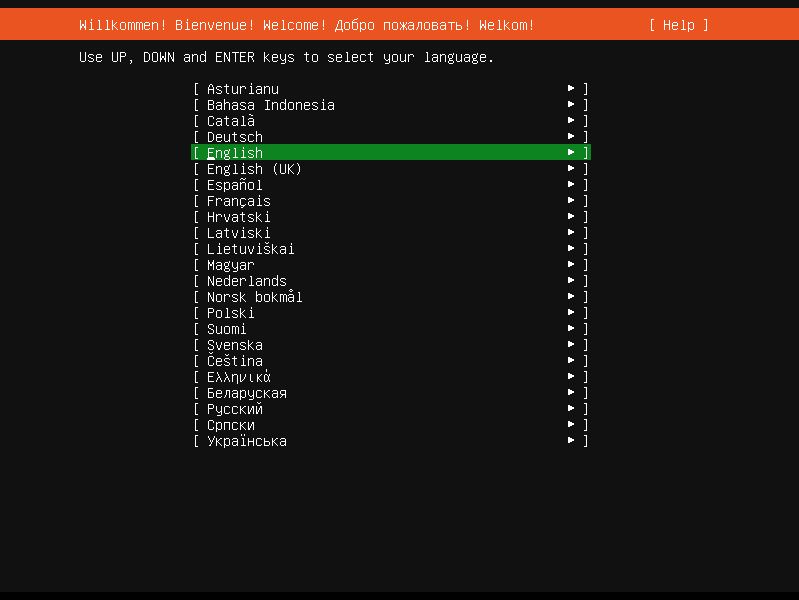
Once you boot in, you need to chose the language which you want to use.
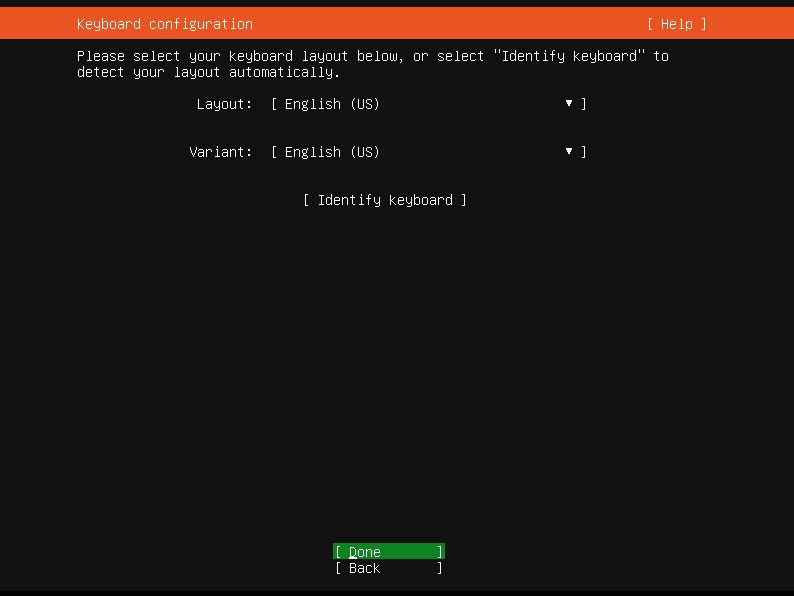
Next step asks you for Keyboard configuration. You can navigate using arrows key, press enter to highlight and then select something else in the dropdown.
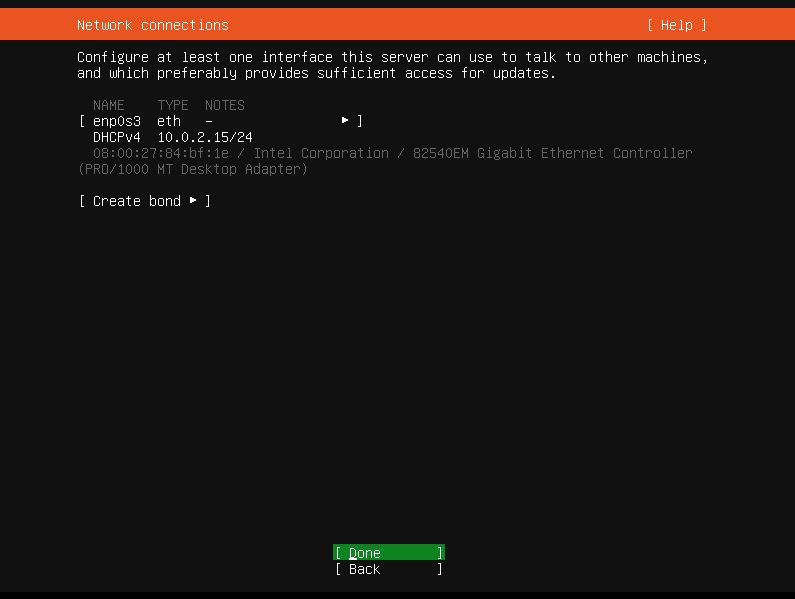
In the Network connections, you would be asked to configure at least one interface for this server. Since we are installing in VirtualBox and the host machine is connected to internet, it detects one. Go to Done and press enter to continue.
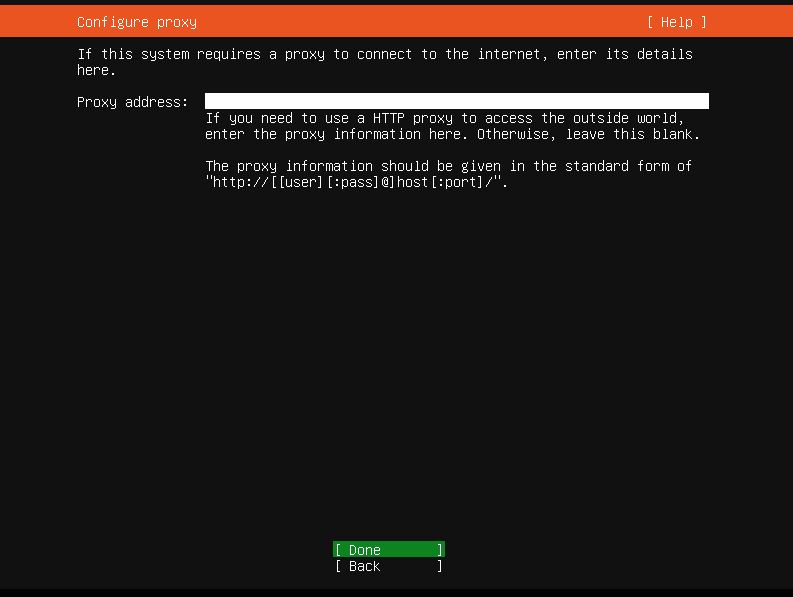
Configure proxy, if your system requires a proxy to connect to the internet.
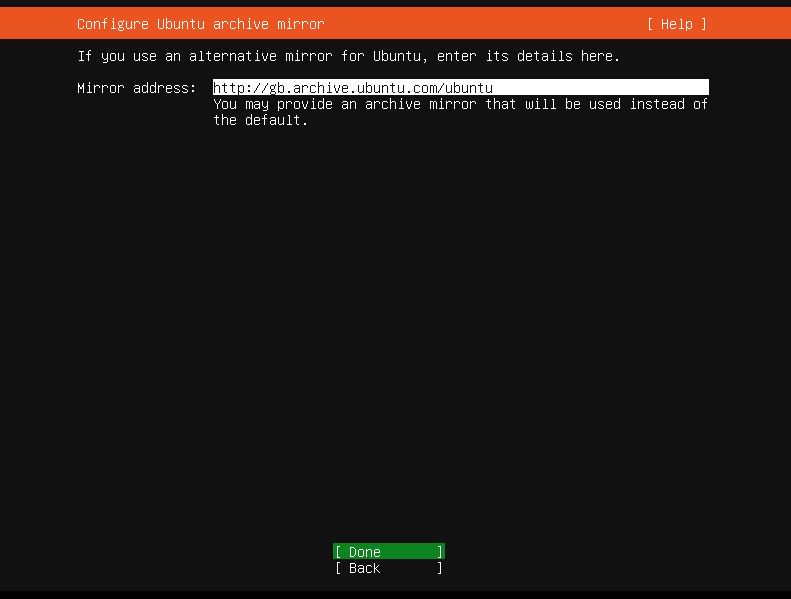
Select your preferred Ubuntu archive mirror. I prefer to leave it default, since it detects the one closest by, on it’s own.
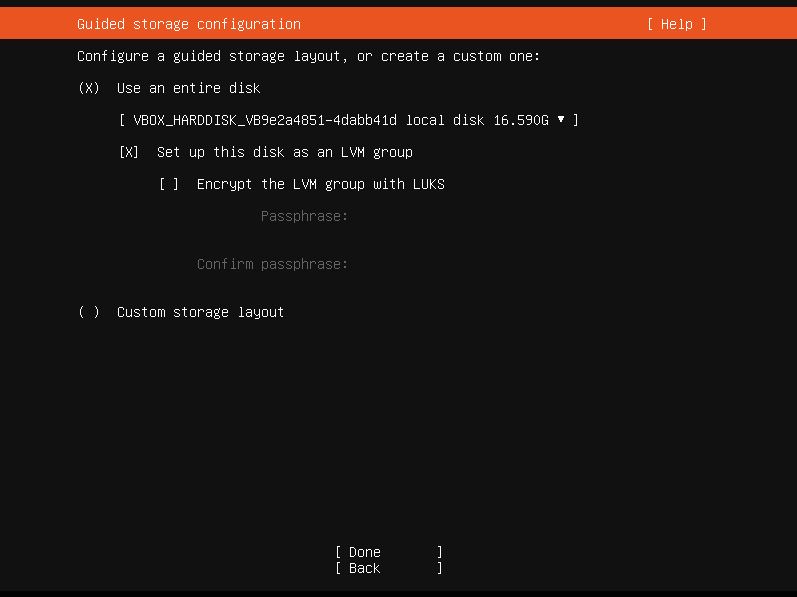
Storage configuration – Again, since this a VM, you can use the entire disk and it won’t disturb your host systems files and folder. This part if completely different if you are trying to dual boot Ubuntu Server, so be careful.
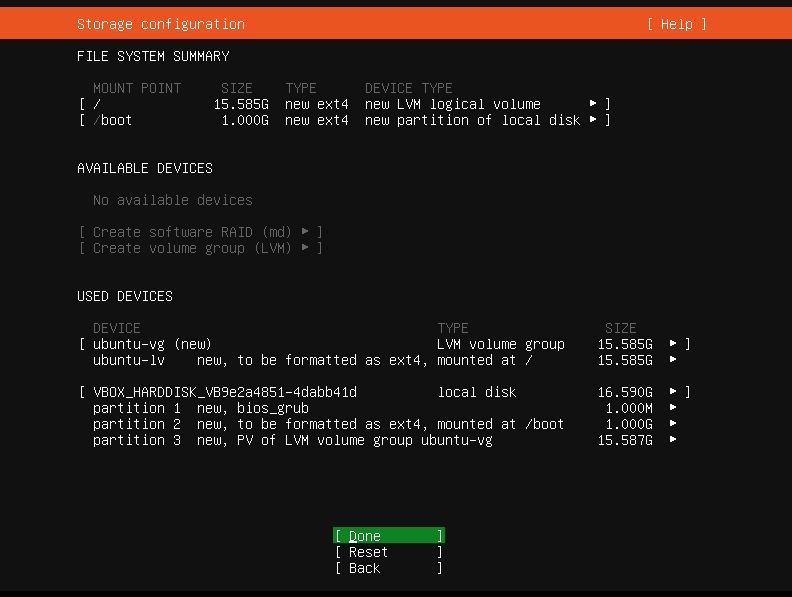
Storage configuration displays the file system summary and how much storage are assigned to root and boot partition.
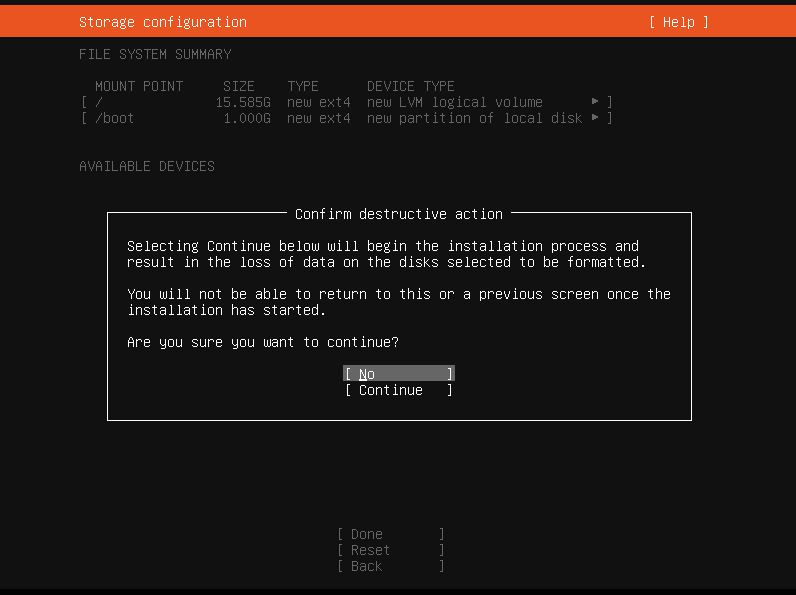
If you continue, a prompt warns you about the formatting it’s going to perform on this file system. We created a separate disk to install Ubuntu Server in VirtualBox, you can continue without fearing anything.
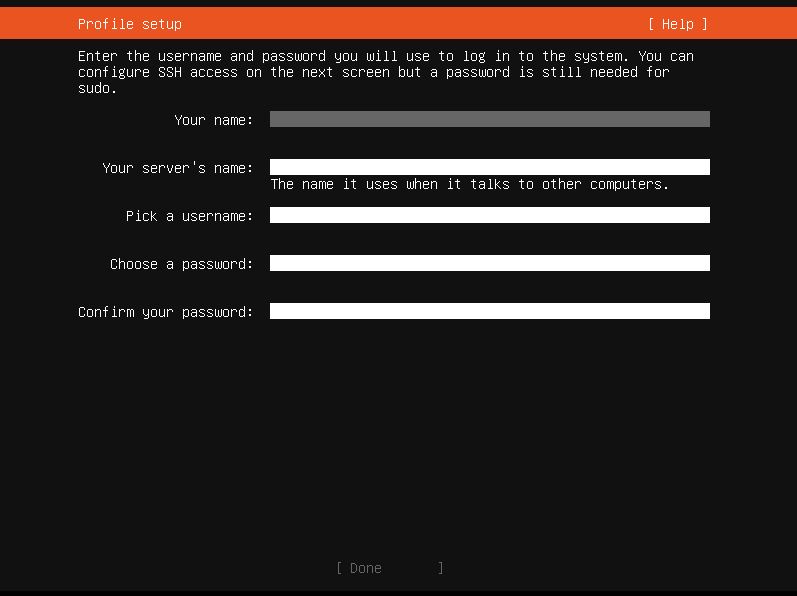
In the next step, you need to set up a profile for you system. It asks for your name, your system name and a username/password which you will use while running Ubuntu.
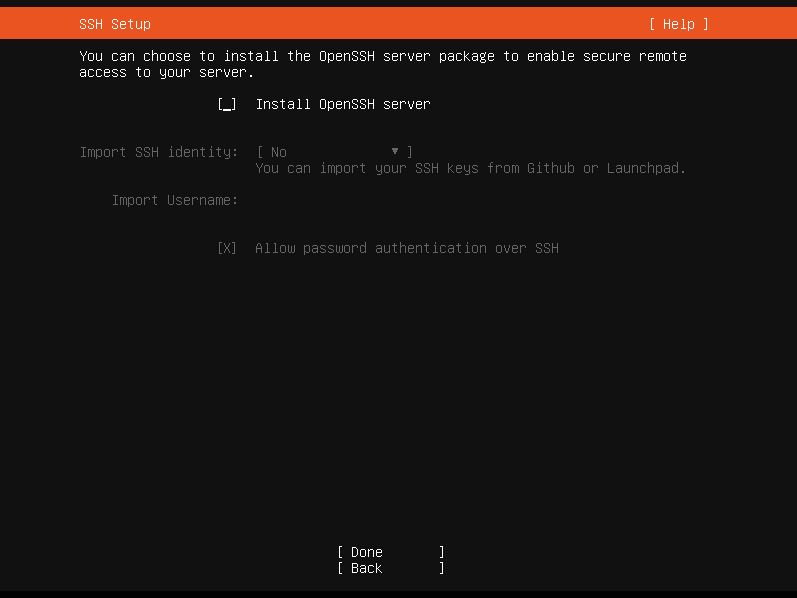
Since a server is supposed to be accessible from remotely, it asks you if you want to install OpenSSH server package to enable secure remote access to your server. Select it and continue.
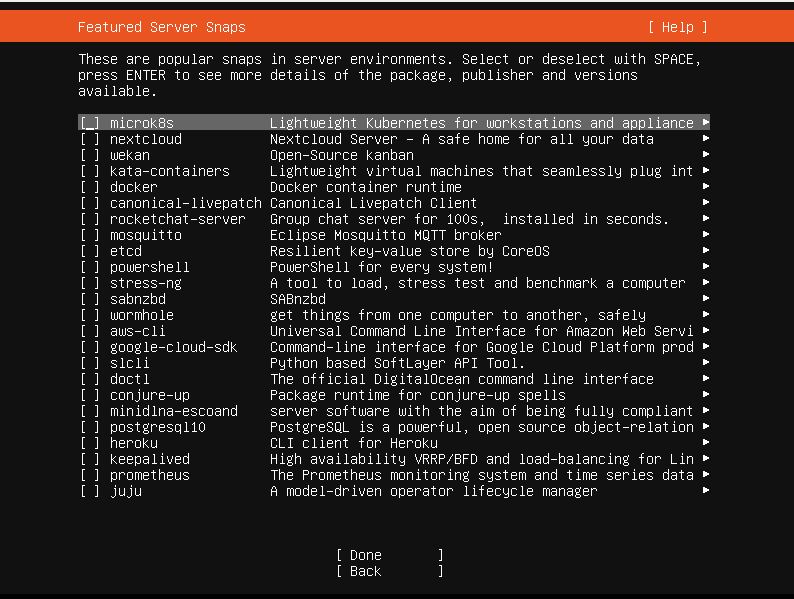
In next screen, the installer displays a list of features server snaps which you can install during this installation. You can either select the ones which you want, or install them later separately.
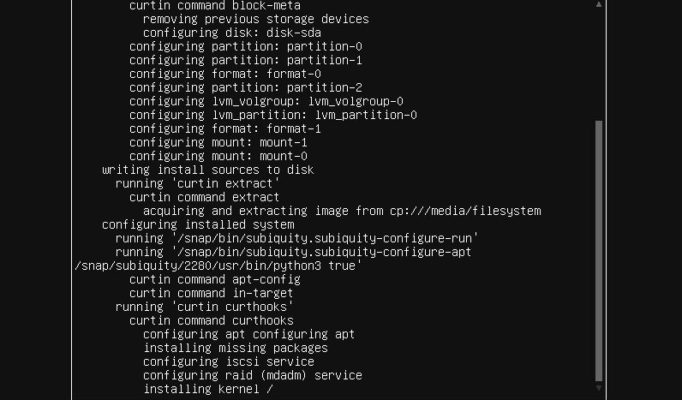
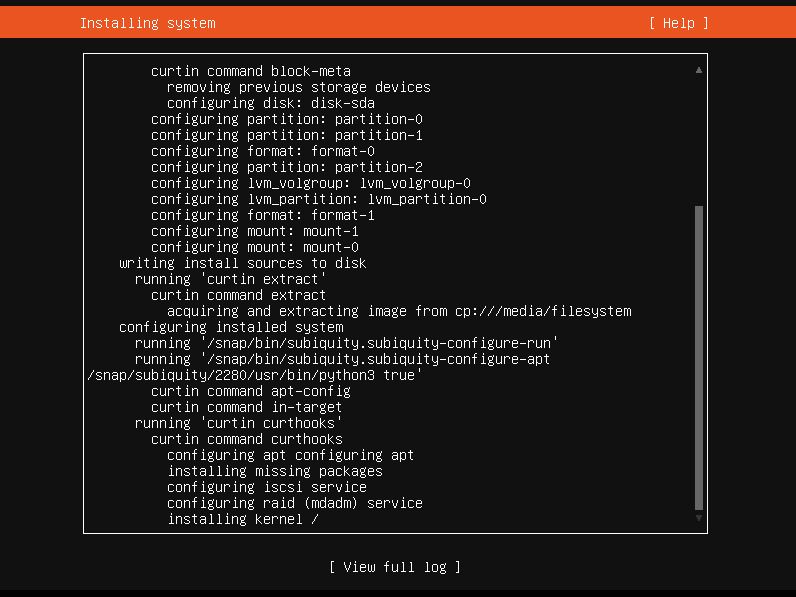
We have reached to the final step where installation starts. It will take it’s time to install, download latest updates and security packages. Once done, the status shows a installation completed message. You will need to reboot your system once everything is done.
Wrapping Up
Congratulations! You have an up and running ubuntu server instance to play with. You can learn scripting, install GIT and practice and what not.
If you have any doubts or issues, let me know in the comments.
