UbuntuDDE is the newest Ubuntu remix with a Deepin Desktop on top of 20.04 LTS Focal Fossa. The team announced the first stable UbuntuDDE 20.04 LTS release some days back. In this article, we will see how to install UbuntuDDE 20.04 in Virtual Box, with another Linux distribution and dual boot it with Windows 10.
It’s a beautiful distribution with a nice, elegant desktop environment built on the base of Ubuntu 20.04 LTS.
Read : How to install Ubuntu 20.04 in VirtualBox
Download UbuntuDDE 20.04 LTS
You can grab a copy of stable UbuntuDDE from the download section
You may need to set up a Virtual Box first for any Linux installation. Once done, boot from the ISO you have downloaded from the above link.
Read : How to create a Linux bootable USB
Install UbuntuDDE in VirtualBox
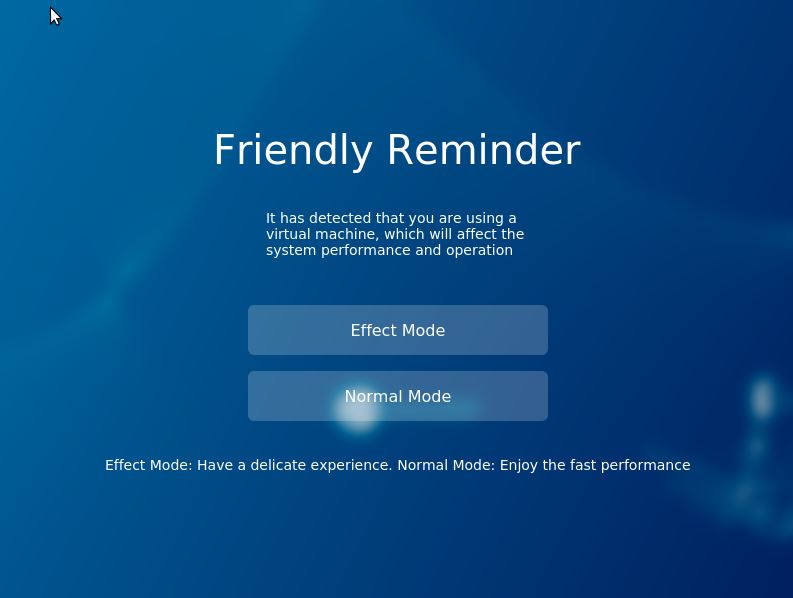
The installer does a filesystem checks once you try to boot which takes its own time before displaying a friendly reminder to select Normal Mode in a Virtual Machine to avoid any performance issues.
I will still go ahead with the Effect Mode since I have dedicated enough RAM and couple of CPU cores.
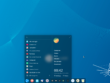
Once selected, it boots into a live session with a Install UbuntuDDE 20.04 LTS desktop icon and a taskbar panel displaying Start Menu, File Manager, Thunderbird and a Setting icon.
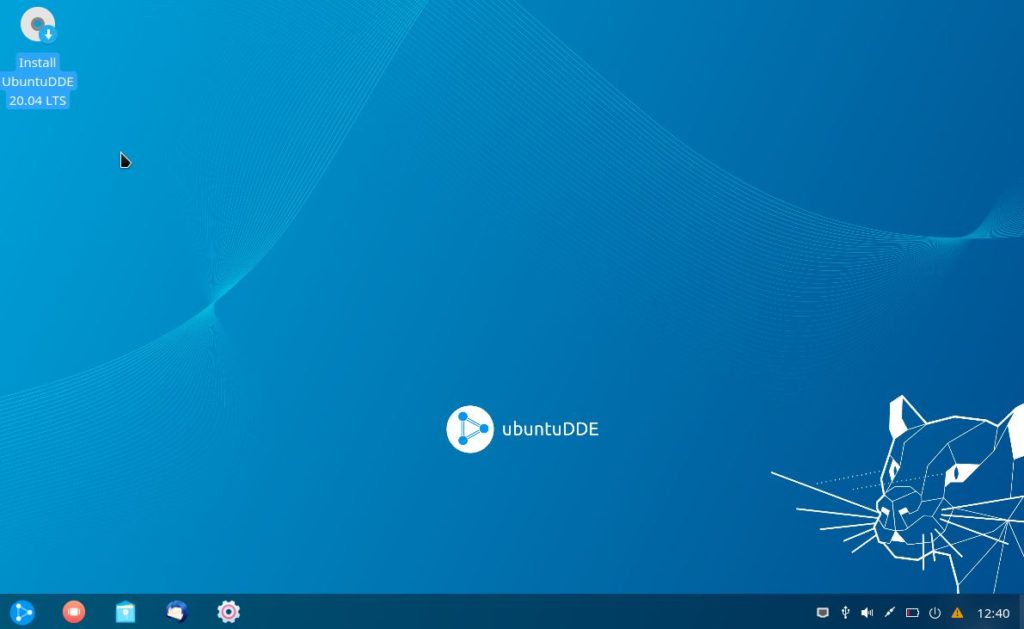
Lets start the installation process by clicking on Install UbuntuDDE 20.04 LTS icon on the desktop.
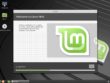
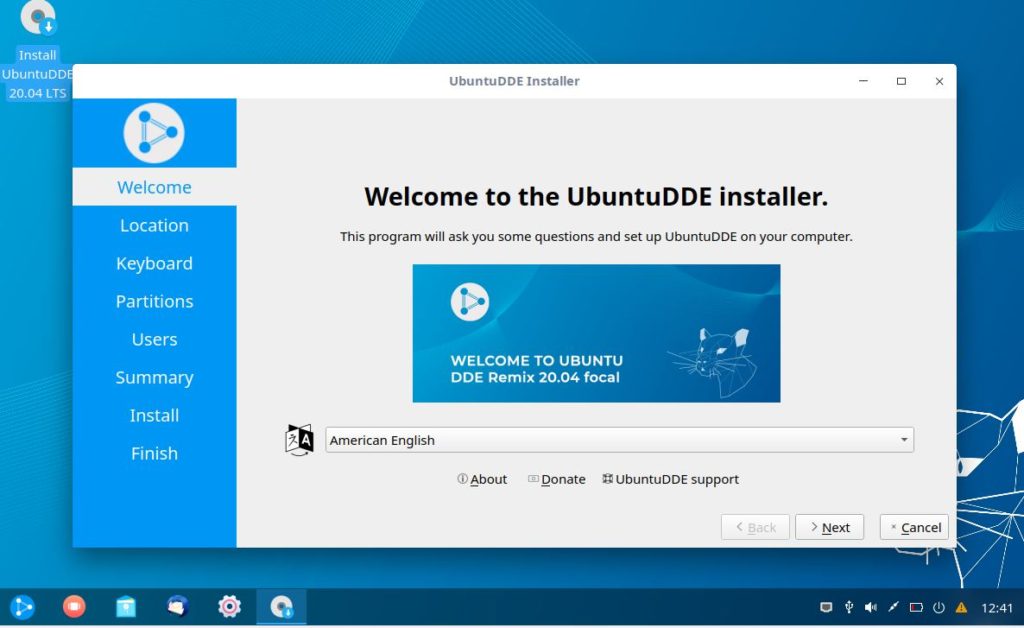
The first screen you see is a Welcome Screen to choose the default language you want to use for the installation.
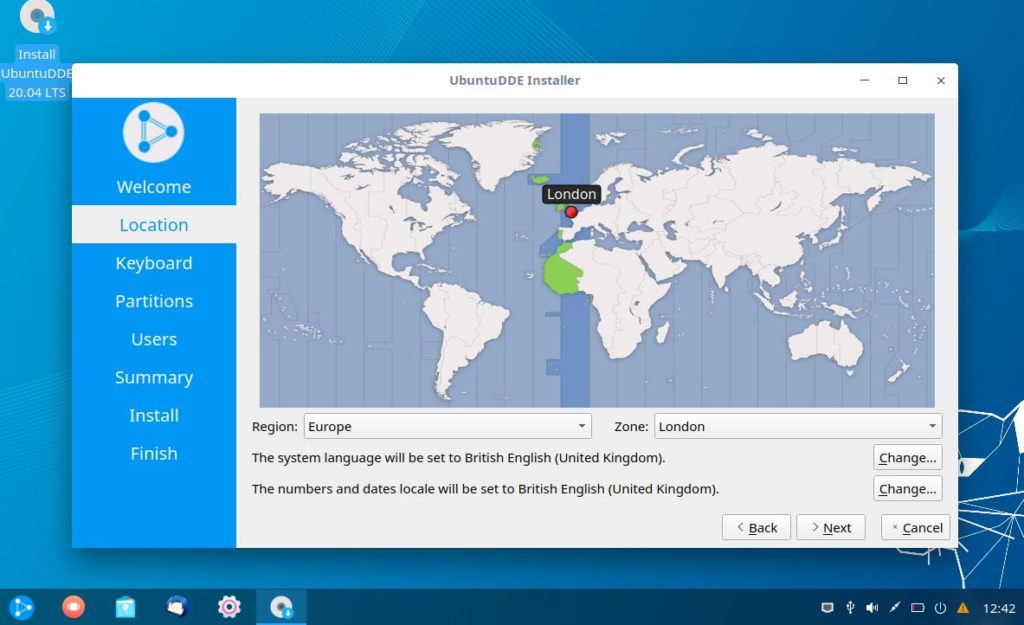
The other steps are similar to a usual Ubuntu installation, asking for Location and Zone in the next screen.
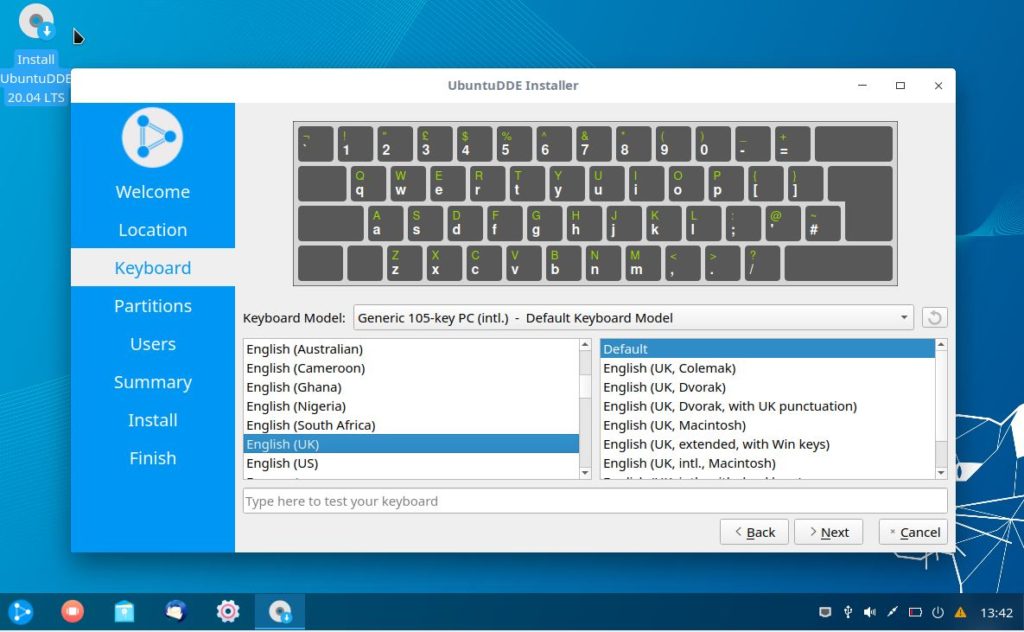
Choose Keyboard layout in the next step during installation.
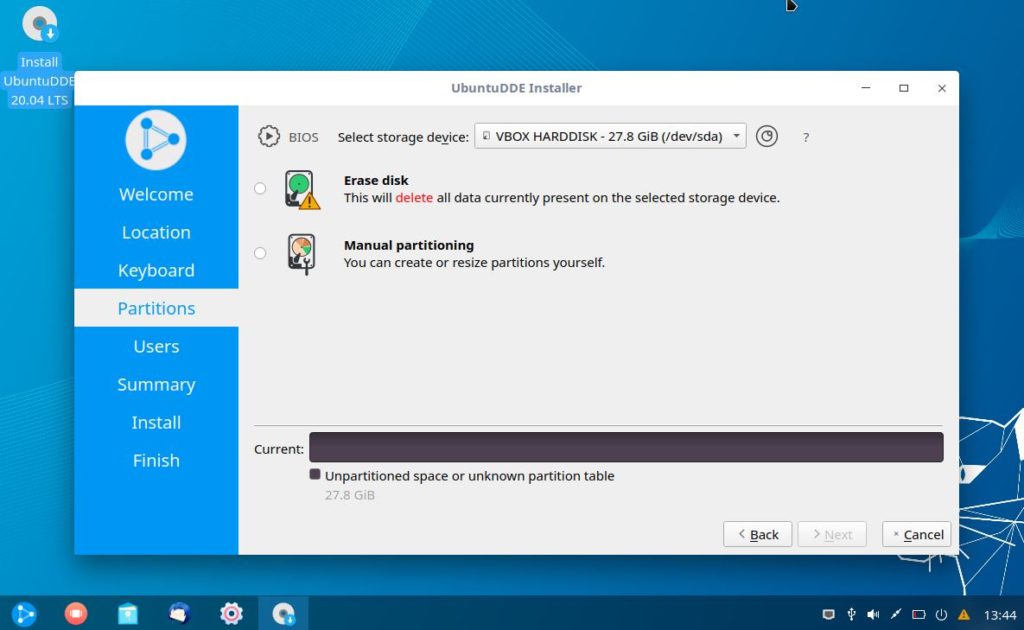
In the next screen, you can choose either to Erase Disk or create a Manual Partition. Since we are installing UbuntuDDE 20.04 in a VM, Erase Disk is best suited.
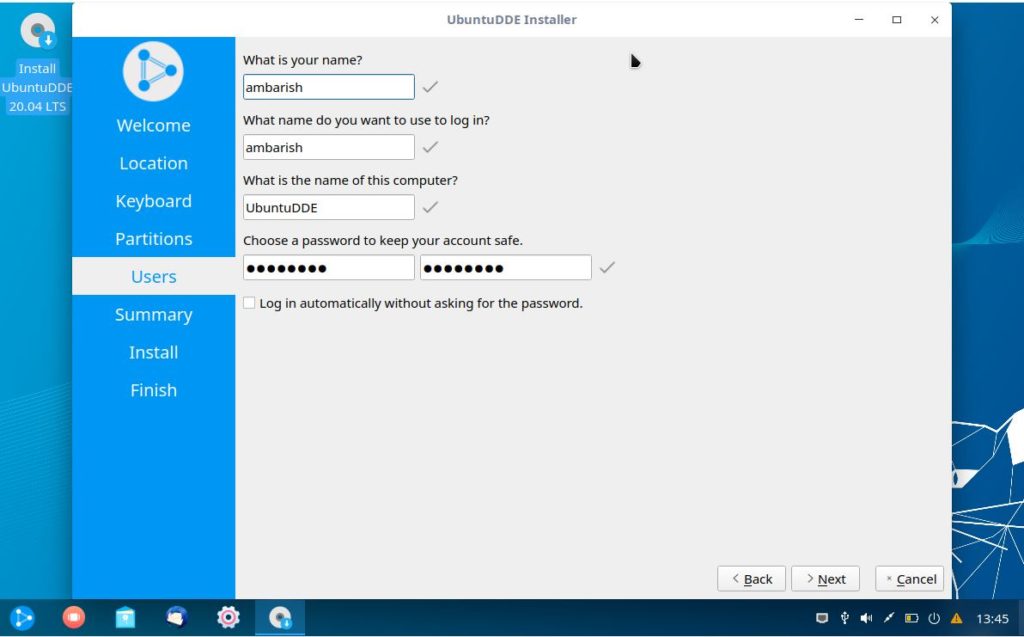
Create the default user in the next screen.
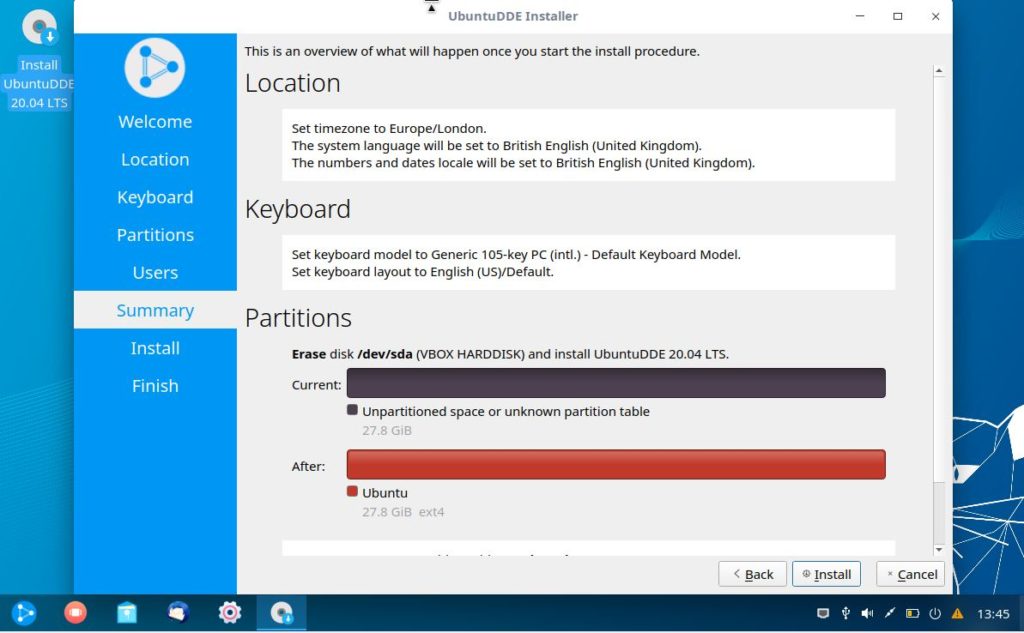
The last step before installation displays the summary of the settings. You can verify the details before starting the installation.
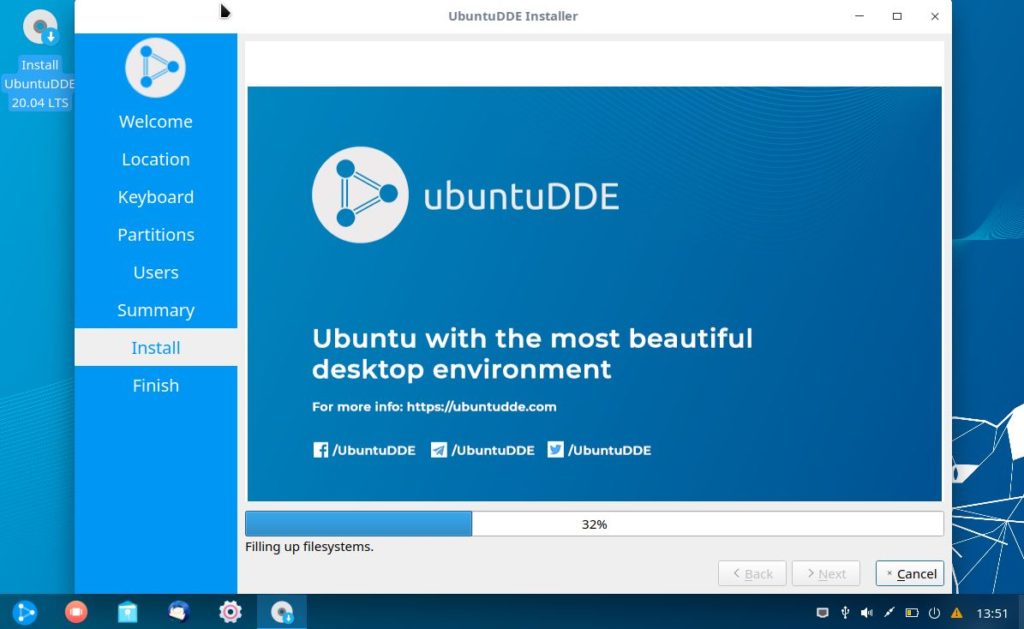
The installation process will take its time.
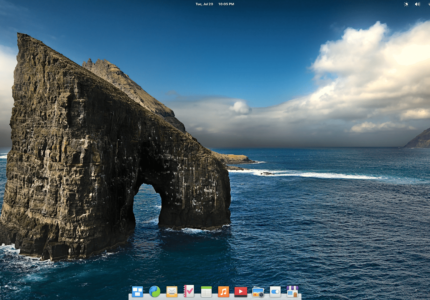
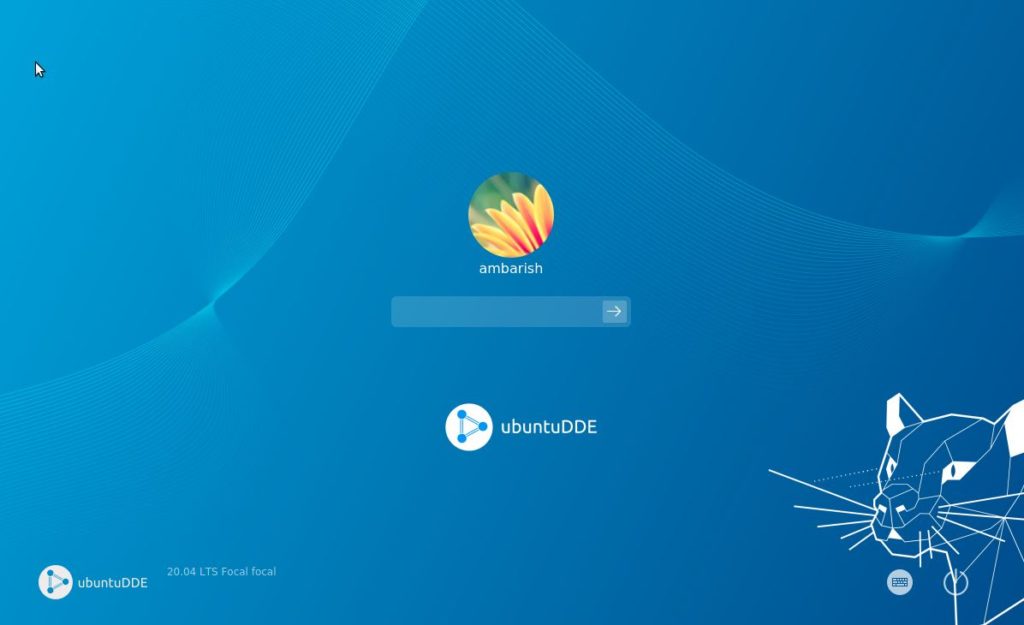
Once done, remove the bootable media and press Enter to restart the Virtual Machine. Enter you login credentials and you have a working beautiful and elegant Operating System.
Dual Boot UbuntuDDE with another Linux distribution
You need to burn the ISO to a USB device. Once done, boot into the live session using your USB device and click on the Install UbuntuDDE 20.04 LTS icon to proceed with the installation.
All the steps remain same except “Partitions“.
Instead of Erase disk or Manual Paritioning, you can see two different options
- Replace a partition
- Manual Paritioning
Replace partition does what it reads. It will wipe out everything and installs UbuntuDDE along on your hard disk.
Note : DO NOT TOUCH THIS or you will loose your data and current OS set up. Sorry for shouting it out, most of us has gone through this pain.
Select Manual Paritioning
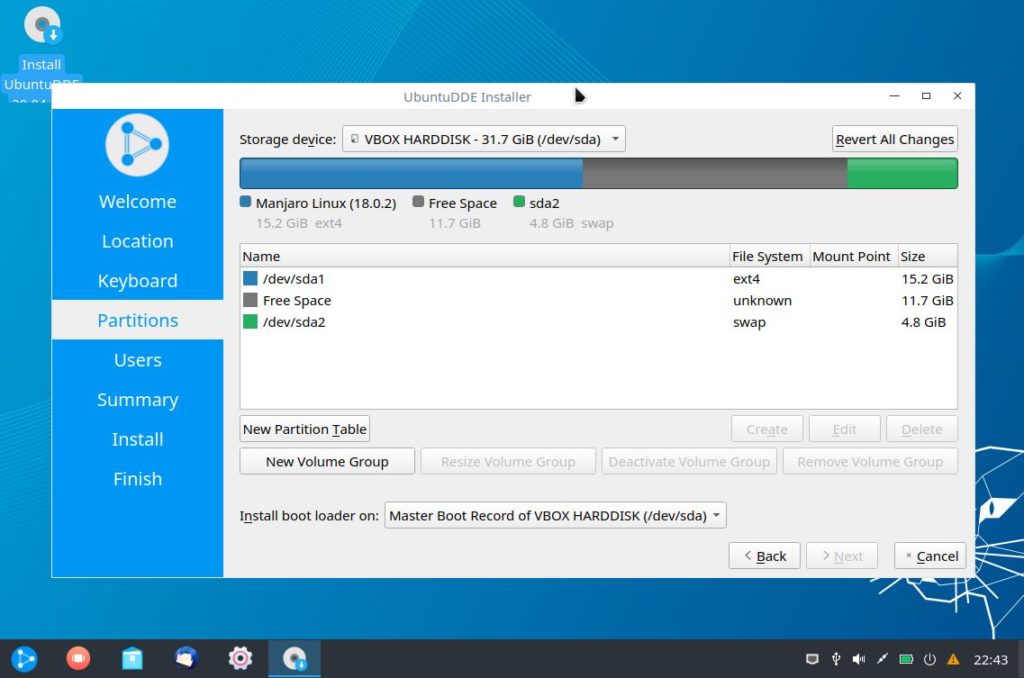
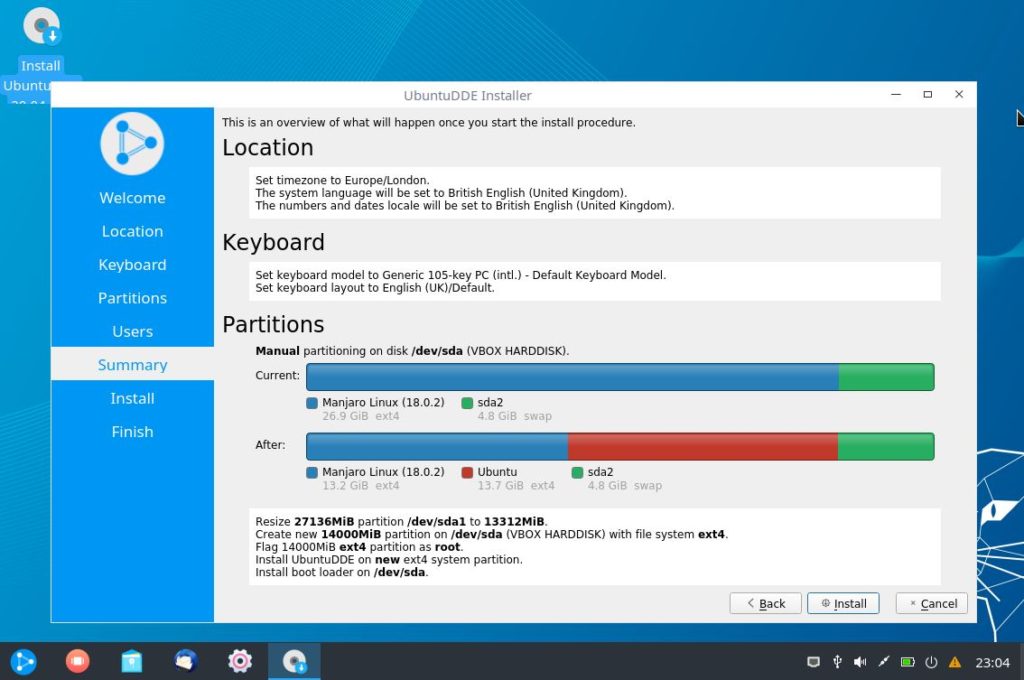
Since I am installing it along with a Linux distribution, I have to Resize the current filesystem to make some space for UbuntuDDE.
Select the primary partition and click on Edit. Edit the size and reduce the size which you feel should be sufficient for UbuntuDDE.
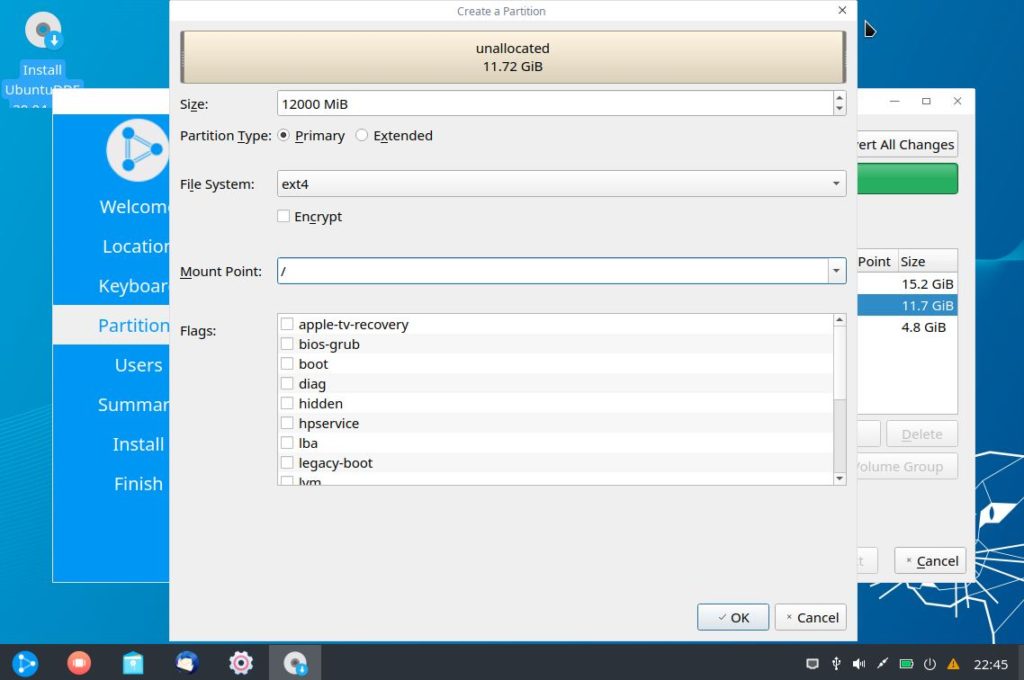
It shows as a Free Space now. Select it and click on Create. You will find the total unallocated disk. Leave the size and Partition Type. File System should be ext4 and Mount Point as Root ( / ). Click on OK.
Select the new partition / you created and click on Next. The new Summary you will see will list down Manjaro, Ubuntu and a swap partition.
The rest of the installation steps are similar to installing it in Virtual Machine. Once done, you can remove the USB and boot to get the options in GRUB.
Install UbuntuDDE 20.04 LTS with Windows 10
If you want to install UbuntuDDE 20.04 alongside Windows 10 as dual boot, most of the steps remain same except you need to free up some space for the distribution.
Search for Disk Management in Windows 10.
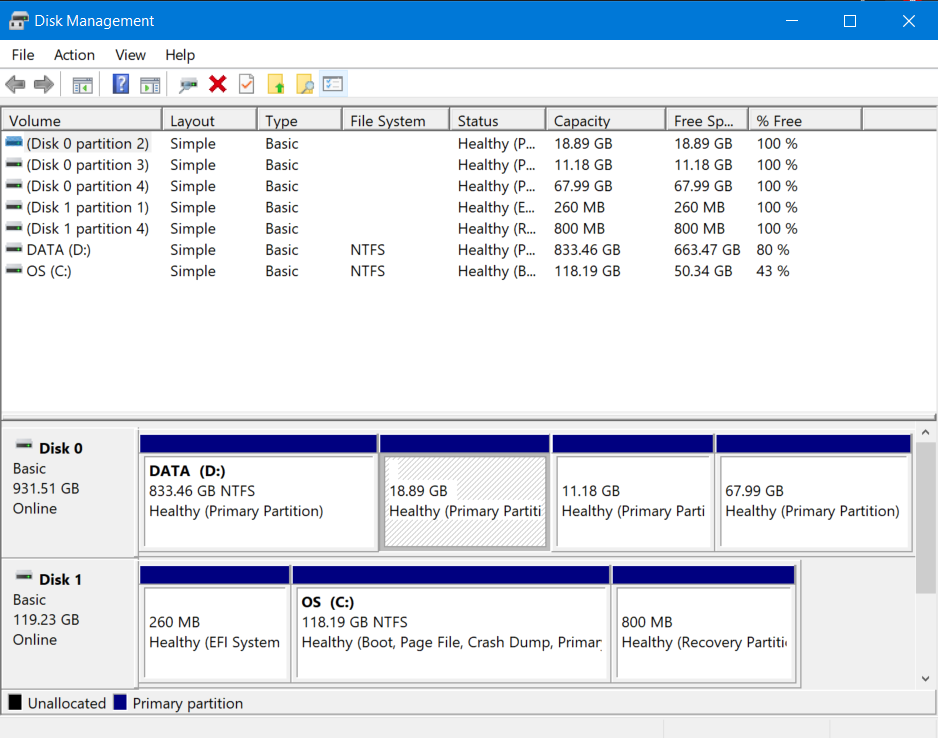
Lets say you want to make space for UbuntuDDE from Data (D:) drive. Right click and select Shrink. The dialogue box will show the amount of space you can shrink. Go ahead and it will be shown as Unallocated.
You can use this unallocated space to install UbuntuDDE 20.04. The steps remain same as installing along side other Linux distribution where you select ‘Something Else’ and then create partitions for UbuntuDDE.
Wrapping Up
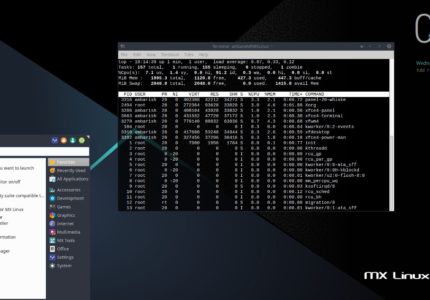
Have you tried the UbuntuDDE 20.04 LTS yet? If not, why not to set up a VirtualBox and experience it? If you don’t really want to install a new distribution, you can install Deepin desktop in Ubuntu too.
By the way, if you face any issues while installing UbuntuDDE, let me know in the comments and I will try to find a solution!